Want to build a IFTTT button? Don’t know how to use ESP8266?
Here’s a simple way using an Arduino Uno to get you started!

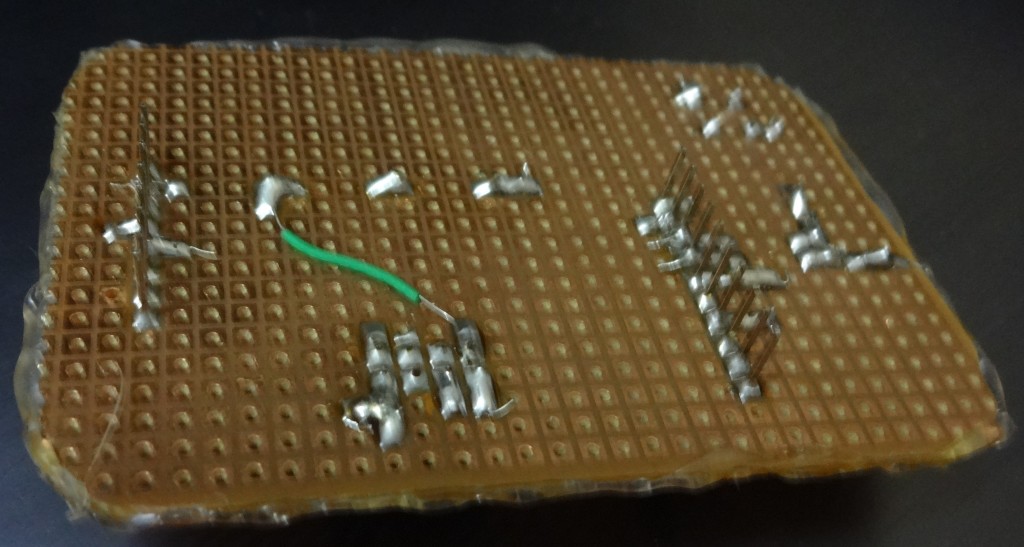
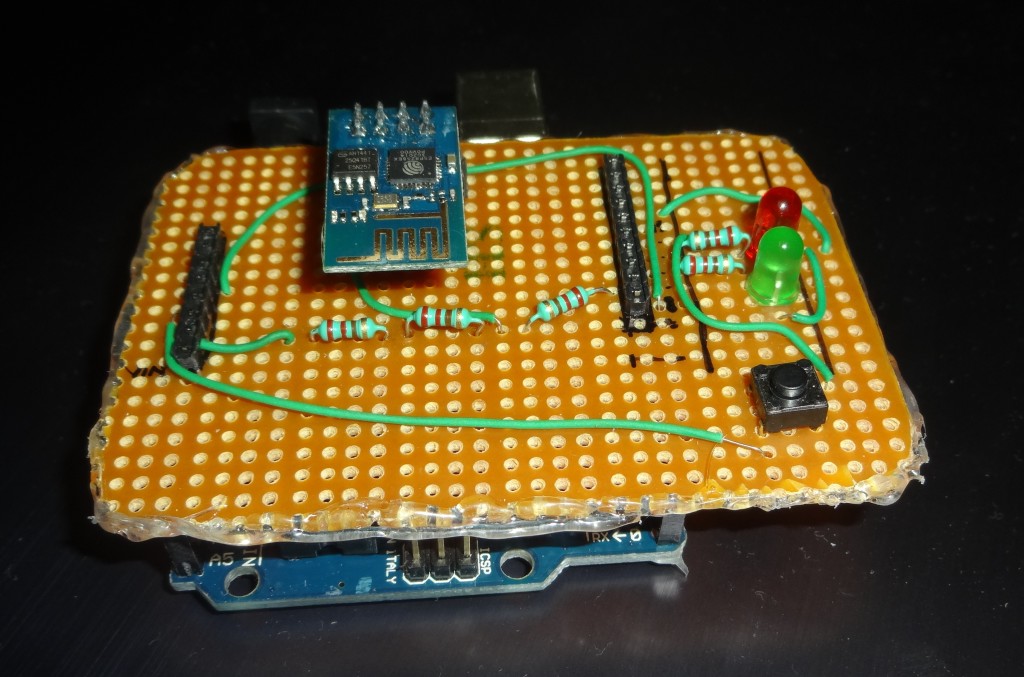
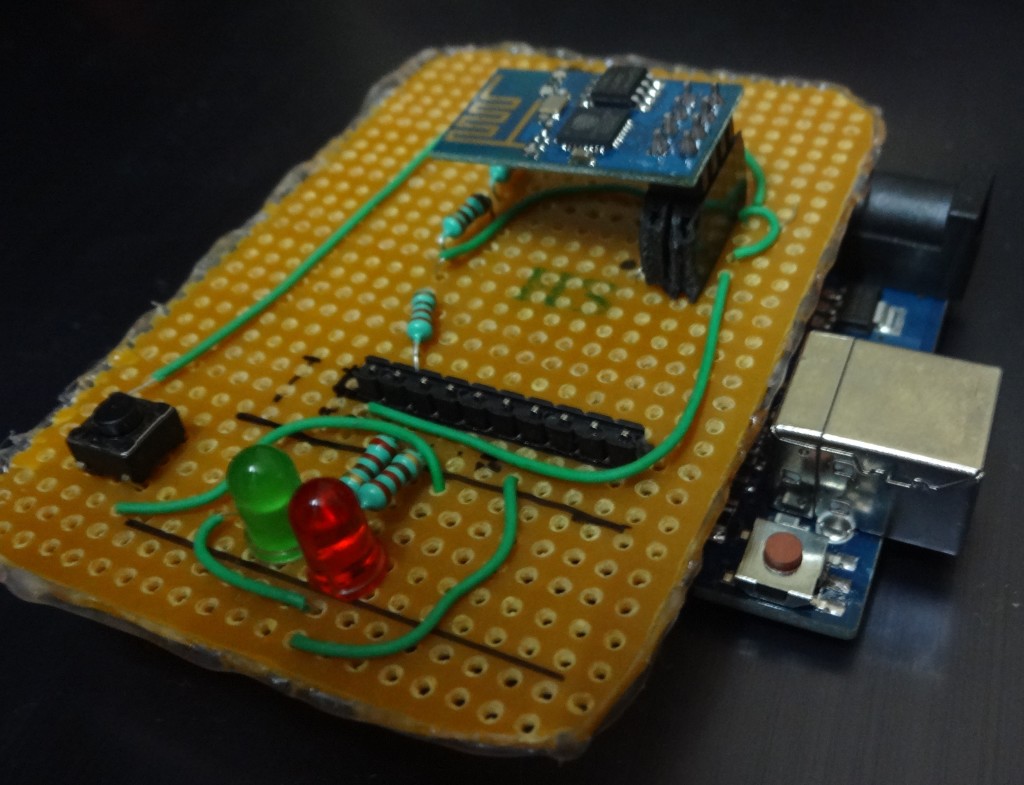
Using an Arduino Uno or Clone, an ESP-01 Wifi Module and the circuit below, you can create a single IFTTT button which can perform 1 task or add more buttons to perform multiple tasks.
Want to buy this and 100s of other projects made by makers of India?
Check out the new platform we’re launching on 20th June 2015
Here we’re connecting to a WiFi network and after the connection is complete, the RED LED turns ON. If the button is pressed anytime after that, the Green LED turns ON for 2 seconds and the Red LED turns OFF. Logs securely into the sender’s email ID using ID and Password (Set in the code) and sends email to the intended receiver(s) Email ID(s). After the email is sent, Green LED blinks twice.
The message can be anything from “The Button Was Pressed on IFTTT device.\r\nCheck it out.” to “Message from IFTTT Button.Order Placed.” (which we used during testing, as you can see from the screen-shot of the receiver’s email below!
Simply add more buttons to the Arduino Uno and edit the code to perform multiple functions on each button press.


2 Comments
tecnicelectric · 3rd October 2015 at 8:55 am
Hello , you help me ? I can not download the code , the page does not load
Order from Domino's Pizza using The Easy Order button · 23rd November 2015 at 11:39 pm
[…] You can create an IOT button as a DIY project. […]